Later Versions,
Will need user name, ubuntu, to start, no password required.
1. Configure your BIOS.
At startup press the del key to access the BIOS.
Go into Power Management Setup and set PME Event Wake Up to enabled.This is to allow the scheduled recordings to work.
It may be necessary to try different BIOS settings to make it work.
In some cases you need to disable the RTC alarm function in the BIOS to make things work.On many boards, when the RTC setting is enabled in the BIOS, it will wake only from a time set and saved from BIOS setup, and not from a time set outside of the BIOS setup environment.
2. Burn .iso to DVD or copy to USB.
3. Install by accessing, install - start the installer directly, or by live - boot the Live system. With the live DVD access Sytem > Administration > Install Release. To get to the Desktop look at the information that displays on the screen, then either use the escape key to get out of the MythTV screens, or the end key to get out of the MythWelcome screen. There may be some superfluous messages displayed at the start, EeeMC 10.10.24, just tick no, and continue. Does not have any effect on the installation. When installing OS, click to activate Automatic Log In, unless you have a particular reason for not wanting this to happen. Clonezilla, follow instructions on disc.
4. You can play around with the live version but I think it is more productive to load the fully configured OS to your hard drive. The only configuration that should be necessary will be for tuner cards, subsequent tuning of stations and for the remote.
In the installed OS you can use the Power button on the remote to open and shut MythWelcome. The DVD button is used to start XBMC. Pressing the Power button shuts XBMC. It is probably a good idea to go via the Desktop, using the remote, when going between MythTV and XBMC. In later versions, the DVD button completes this process.
If you have not used XBMC before, I suggest you find a guide to using the remote, or just play with the buttons. You will be amazed at the hidden facilities that are available.
5. After you have installed the OS, this is not needed in later versions of EeeMC, there are a couple of housekeeping type processes that need to be completed.
Access > Applications > Accessories > Terminal
Run NVIDIA command as root. To do this type in sudo -i, you will then be asked for your normal password.
No need to do this for Clonezilla installation.
To access the Launcher in EeeMC 11.10.24 move the mouse cursor to the left side of the Desktop.
user@computer:~$ sudo -i
[sudo] password for user:
root@computer:~# nvidia-xconfig
Next step is to get rid of the remastersys files.
root@computer:~# remastersys clean
root@computer:~# rmdir /home/remastersys
A summary of this process,
user@computer:~$ sudo -i
[sudo] password for user:
root@computer:~# nvidia-xconfig
Using X configuration file: “/etc/X11/xorg.conf”.
VALIDATION ERROR: Data incomplete in file /etc/X11/xorg.conf.
Device section “Configured Video Device” must have a Driver
line.
Backed up file ‘/etc/X11/xorg.conf’ as ‘/etc/X11/xorg.conf.backup’
New X configuration file written to ‘/etc/X11/xorg.conf’
root@computer:~# nvidia-xconfig
Using X configuration file: “/etc/X11/xorg.conf”.
Backed up file ‘/etc/X11/xorg.conf’ as ‘/etc/X11/xorg.conf.backup’
New X configuration file written to ‘/etc/X11/xorg.conf’
root@computer:~# remastersys clean
Removing the build directory now…
Done…Exiting
root@computer:~# rmdir /home/remastersys
root@computer:~#
I run nvidia-xconfig twice, to save a restart freeze and having to restart the system twice.
Access > System > Administration >Start Up Manager and reset the start up screen resolution and quality. Not necessary in later versions.
6. To change password, log in as normal, and enter, passwd, then as root, and enter, sudo passwd root,
user@computer:~$ passwd
and follow the prompts.
The rule in Ubuntu when it comes to changing usernames.
You cannot change your username while you’re logged into the system. You must login with a different account to change it. This means accessing System > Administration > Login Screen, or User Accounts in Ubuntu 11.10, and temporarily altering the Automatic Login to show the Login Screen to enable logging in as Root. Once completed Log Out and Log In as User, twice with Ubuntu 11.04, also changing back to Automatic Login.
To change the User name, log in as root, then use the following command,
usermod -l new login name old login name
example,
root@computer:~# usermod -l user01 user
To change the time zone,
root@computer:~# sudo dpkg-reconfigure tzdata
To change language, in MythTV, access, Utilities/Setup > Appearance > Localization, in XBMC, access System > Settings > International.
7. An important additional step is to alter the User name in rc.local, to the new User name. This is not necessary, in later versions.
user@computer:~$ sudo -i
[sudo] password for user:
root@computer:~# gedit /etc/rc.local
#!/bin/sh -e
#
# rc.local
#
# This script is executed at the end of each multiuser runlevel.
# Make sure that the script will "exit 0" on success or any other
# value on error.
#
# In order to enable or disable this script just change the execution
# bits.
#
# By default this script does nothing.
su -c '/usr/bin/irexec -d /home/user/.lircrc' -l user
exit 0
Restart the computer to enable the NVIDIA restore.
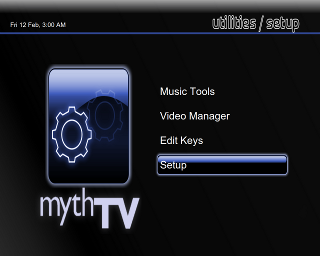
8. Access > System > Administration >Mythbuntu Control Centre
to change the remote setting. The OS is set up for an MCE or the Hauppage equivalent remote.
The one thing, for which I would not use the Mythbuntu Control Centre, is to enable automatic
Log In. My experience has been that the GUI is totally taken over by the rather drab, and not
very user friendly, MythBuntu set up.
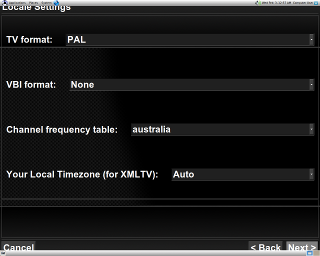
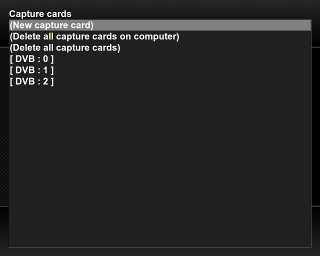
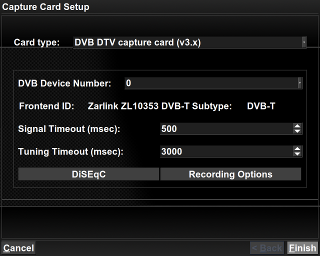
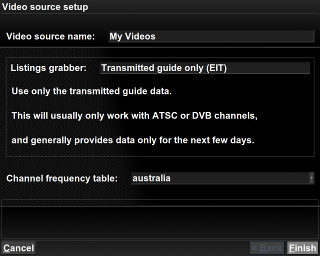
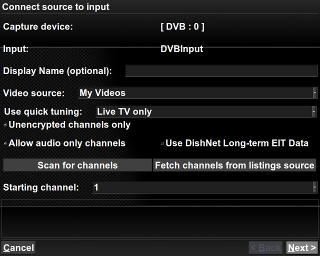
9. Now to check the setup, access > System > Administration > MythTV Backend setup.
I am going to add screen prints of the critical screens with comments, if necessary, to save a
whole lot of typing.
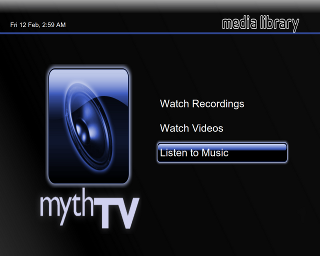
10. Now to > Applications > Sound & Video > MythTV Frontend.
11. If you are new to Linux you will find the Synaptic Package Manager very interesting to explore. You will quickly realise that installing software in Linux can be just as easy as Windows.
Access > System > Administration > Synaptic Package Manager.
12. With 10.10.24 and 10.10.24.01 it is necessary to access System > Administration > Login Screen to change to Automatic Login.
EeeMC 1.01
MythTV based on Eeebuntu with XBMC added. Basically it is a fully setup Linux system with all of the necessary script changes and sudoers authorities completed. So with minimal setup requirements the user will have an excellent HTPC based on the well sorted Eeebuntu 9.04 base.
Note: This download is an .iso file which needs to be burned to DVD.
What´s New in version 1.01:
- Upgrade version EeeMC 1.01 with a dedicated, newly developed, EeeMC theme.
- Also, the size of the .iso image has dropped from 2 GB to 1.06 GB. This reduction was the result of my finding an old .iso image left in a folder which I had forgotten about.
- Switching between MythTV and XBMC has been vastly improved and is now controlled by the DVD button on the remote.
- Eeebuntu 3 kernel upgraded to 2.6.28-18-generic, plus all of the latest recommended updates.
- This application works particularly well, and with the new theme has a pleasing and sophisticated presentation.
Link,
http://dc179.4shared.com/download/222147909/faaf5035/EeeMC-101.iso


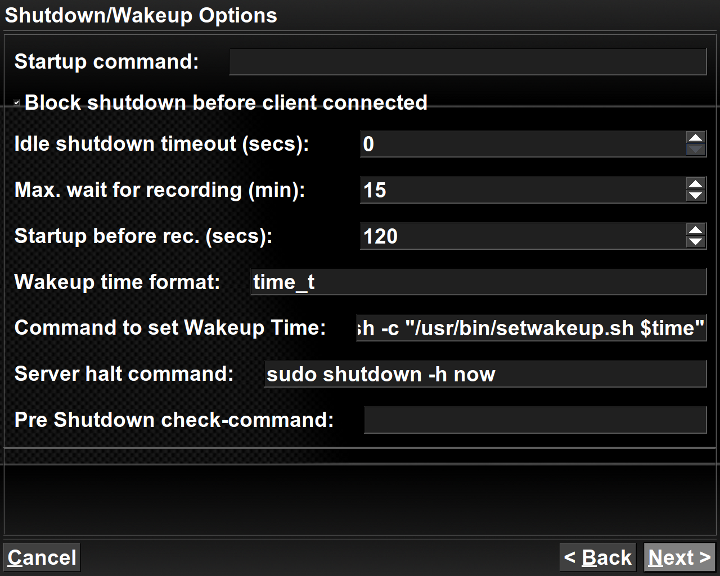
This is the page that controls the system for scheduled recordings. I set idle time at 240 seconds, Max wait for recording at 10 minutes, and startup before record at 120 seconds.
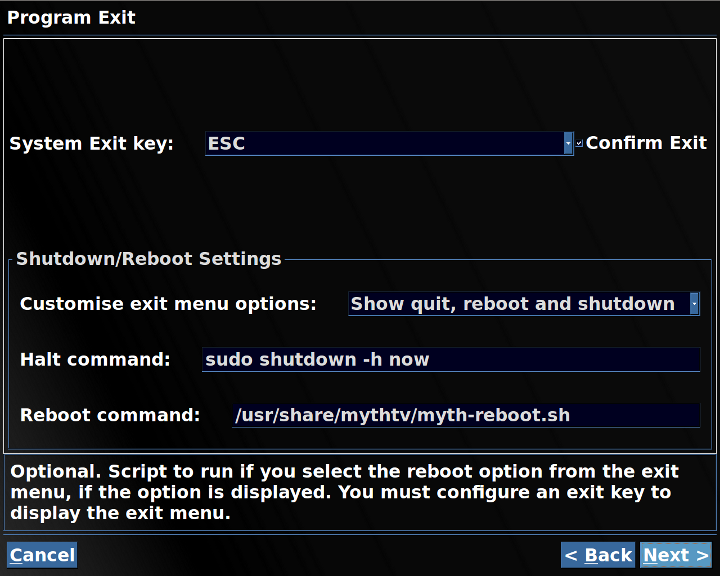
Access>Applications>Sound & Video>MythTV Frontend>Utilities/Setup>Setup>General>Program Exit and enter the Halt Command.
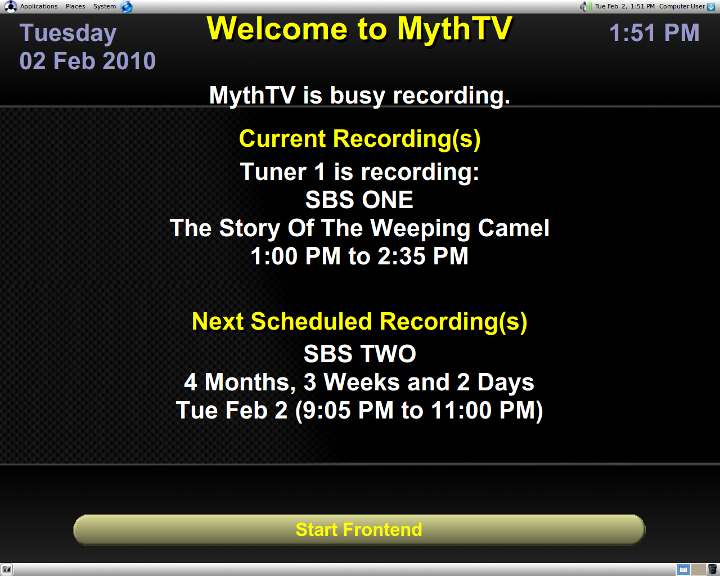
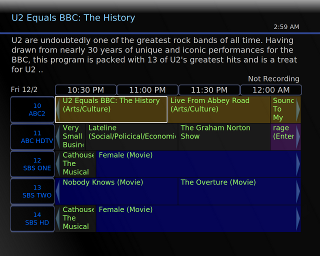
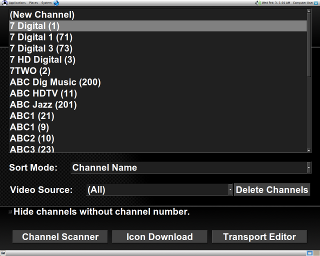
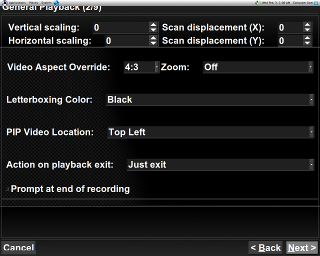
This is the screen that needs to be returned to after scheduling recordings.